Classroom experiments are a great way to engage students and turn complex lessons into simple demonstrations! When it comes to getting students involved, nothing beats easy experiments that only require a handful of materials.
Turning milk into plastic isn’t just a simple classroom demonstration, it’s a good way to show some cool chemistry in action. The chemical reaction at the heart of this experiment is one that’s used by real plastic manufacturers. Plus, it doesn’t hurt that your students get to keep whatever they make as a biodegradable reminder of the lesson.
What You’ll Need
Turning milk into plastic is a simple experiment that only needs a few ingredients. In total you can expect it to take between 30-60 minutes to complete the lesson, and your students will be able to take home their plastic creations after they’ve dried for a day or two.
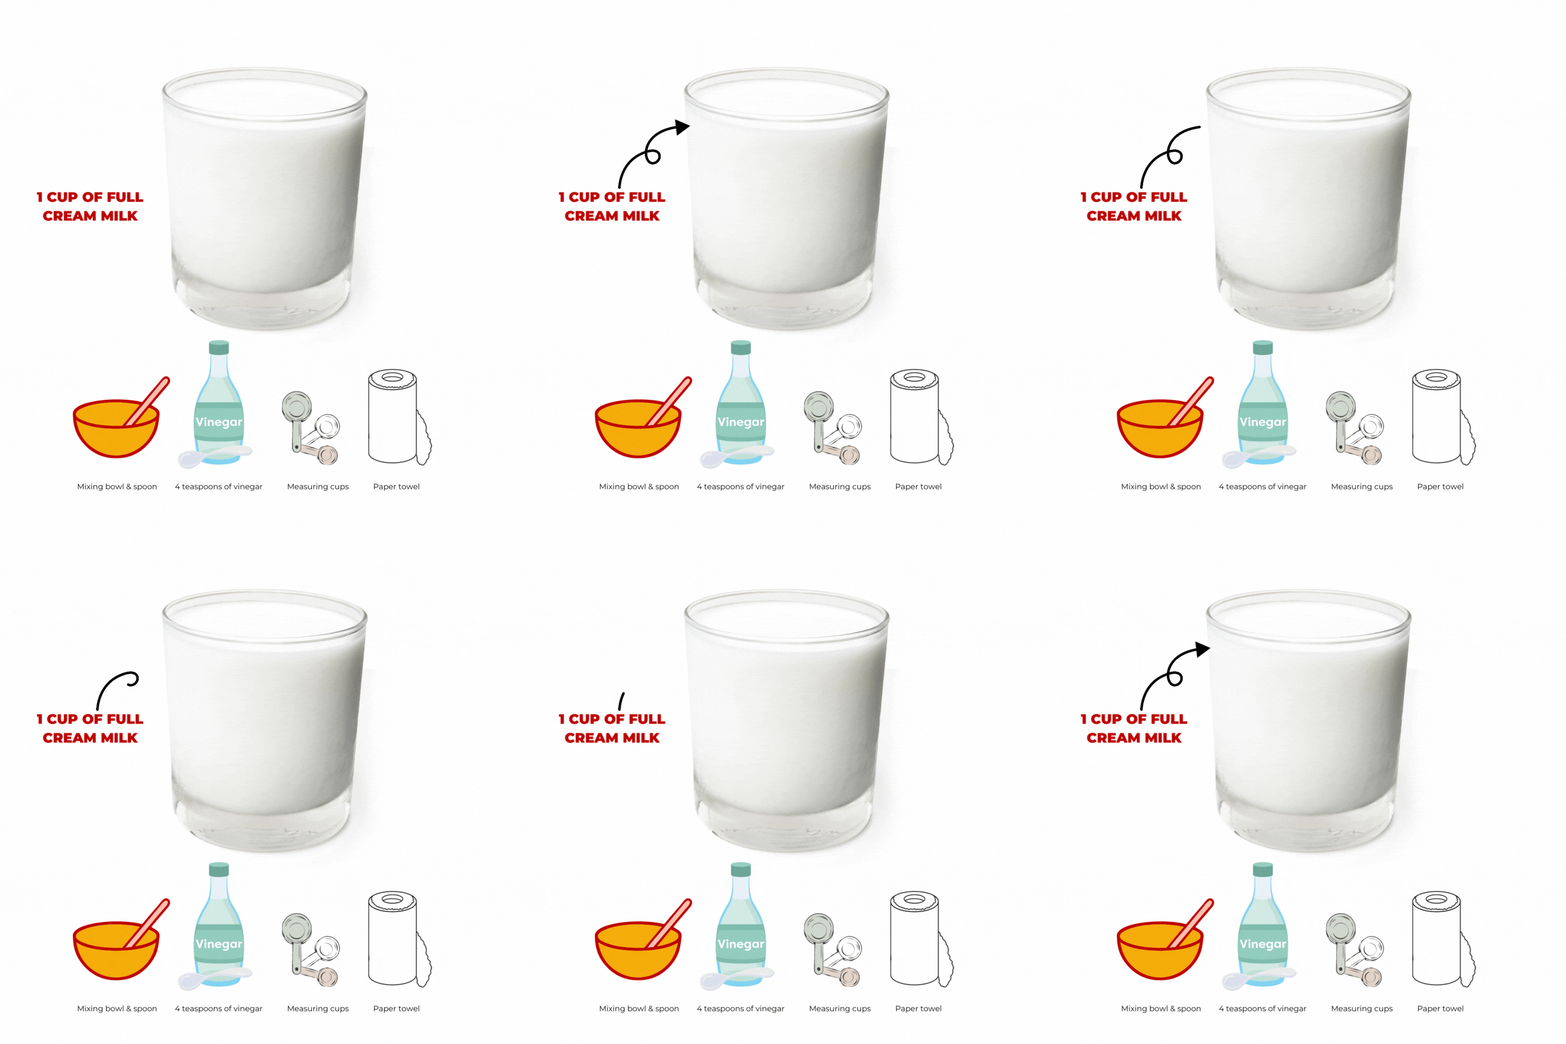
To turn milk into plastic you will need:
- 1 cup of full cream milk
- 4 teaspoons of white vinegar
- Measuring cups and mixing spoons
- A microwave safe mug or bowl to hold the milk
- Paper towels
Each cup of milk will produce enough plastic for 1-2 students.
The Experiment
Once you’ve gathered all your materials you can get started with the experiment. The only special piece of equipment you need for this is a microwave or stove to heat the milk. If you don’t have a microwave near your classroom, the milk can also be preheated and stored in a thermos until it’s needed.
- Heat the milk. Pour 1 cup of milk into a microwave safe container and heat it in the microwave until it’s steaming – about 1 minute at full power. The milk should be hot enough to make a hot drink but not boiling.
- Add vinegar. Add 4 teaspoons of white vinegar to a heat resistant container or mug, then pour the hot milk over top. As the vinegar and milk mix, the curds should begin to separate into white clumps. Gently stir the vinegar and milk mixture for a few seconds to speed up the process.
- Separate the curds. Take your paper towels and create a stack of 3-4 sheets. Using a spoon, carefully separate the milk curds from the liquid in the cup, spooning the curds out onto the paper towel.
- Dry the curds. Wait for the curds to cool slightly and then pat them dry. You want to absorb as much liquid as you can from the curds, so use extra paper towels if you need to.
- Knead the plastic. The cooled, dried curds can now be kneaded together like bread dough until they form a nice cohesive ball. This ball will look a little rough and lumpy no matter what you do, but it should be kneaded well to make sure it can be shaped without falling apart.
- Decorate your creation. This is the fun part! Milk plastic can be mixed with additives like food colouring and glitter as decoration. You can also mould the plastic into any shape you’d like or use cookie cutters to cut out specific shapes.
- Let the plastic dry. The final part of the process is to leave your plastic creation on a paper towel and let it dry for 48 hours. In that time it will dry into a hard plastic shape that students can take home!
The Science Behind the Experiment
To figure out what happened, we need to understand what plastics actually are. Plastics come in thousands of different varieties, and they all look, feel and behave differently. The one thing plastics have in common is that they’re all Polymers. Polymers are a material that is made up of chains of molecules that have the ability to chemically bond with one another. These molecules are known as Monomers. Under the right circumstances, monomers can join together and form a polymer chain that’s stronger and harder than the original molecules.
This particular experiment works because milk contains large amounts of a protein called casein. When an acid (white vinegar in this case) is added to the heated milk, the pH of the milk changes and the casein molecules begin to unfold into a monomer. Once unfolded, the casein monomers will join together into a polymer chain and turn into plastic!
Get Your Students Involved with Experiments from Street Science!
Students love nothing more than digging their hands into a real science lesson! Turning milk into plastic is a great experiment for most age groups. It isn’t just interactive, it also opens the door to discuss one of history’s most important chemical inventions: polymers. If you need help setting up a successful experiment then Street Science would love to help! Our Perfect Polymers classes for Year Six give students a chance to get involved with the science behind the plastics that power our modern world. Contact us if you have any questions or would like to book a science incursion today!

